Easy-Prime Installation steps
Summary
Installation of easy-prime is really easy, however, you might experience errors due to lower conda version problem. Please make sure that you have conda installed and conda version >= 4.9.
Steps
The installation may take 20 min.
Stage 1. Type the installation command
conda create -n easy_prime -c cheng_lab easy_prime
Please note that -n ENV_NAME, the ENV_NAME can be anything strings without space. -c cheng_lab easy_prime means installation the compiled conda package (namely easy_prime) from cheng_lab channel.
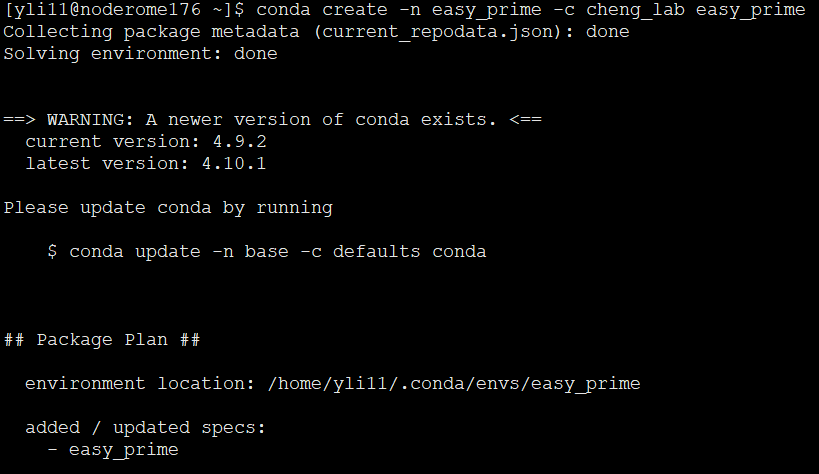
Stage 2. Type y to start installation
Once you have typed in the conda create command, the conda program will start to gather information, for example, informing you about new conda version. Then it tells you a “Package Plan”, for new packages to be downloaded and installed.

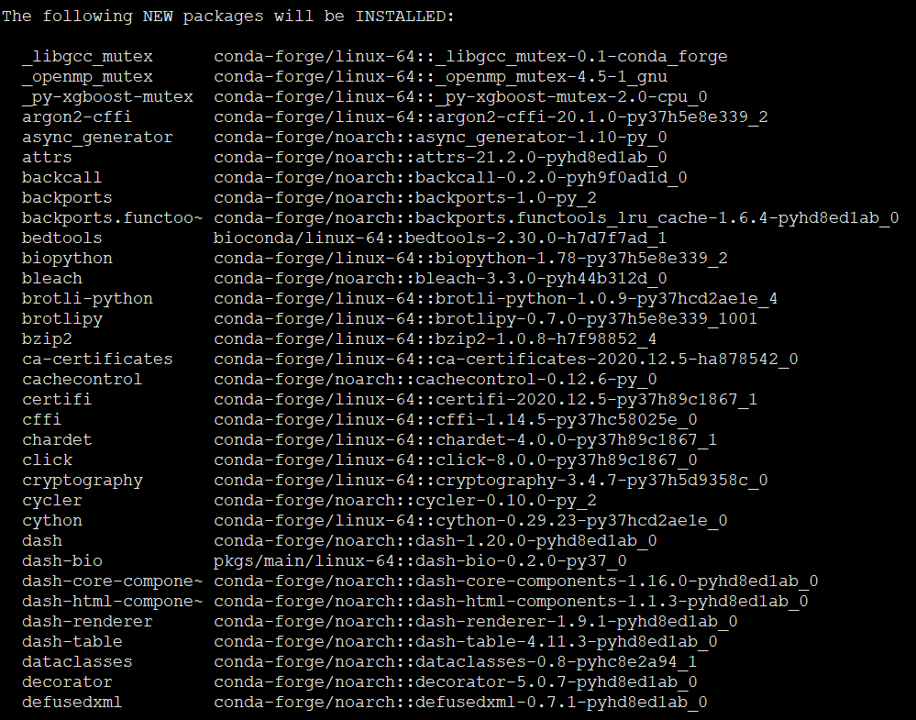

Now, type y and enter.
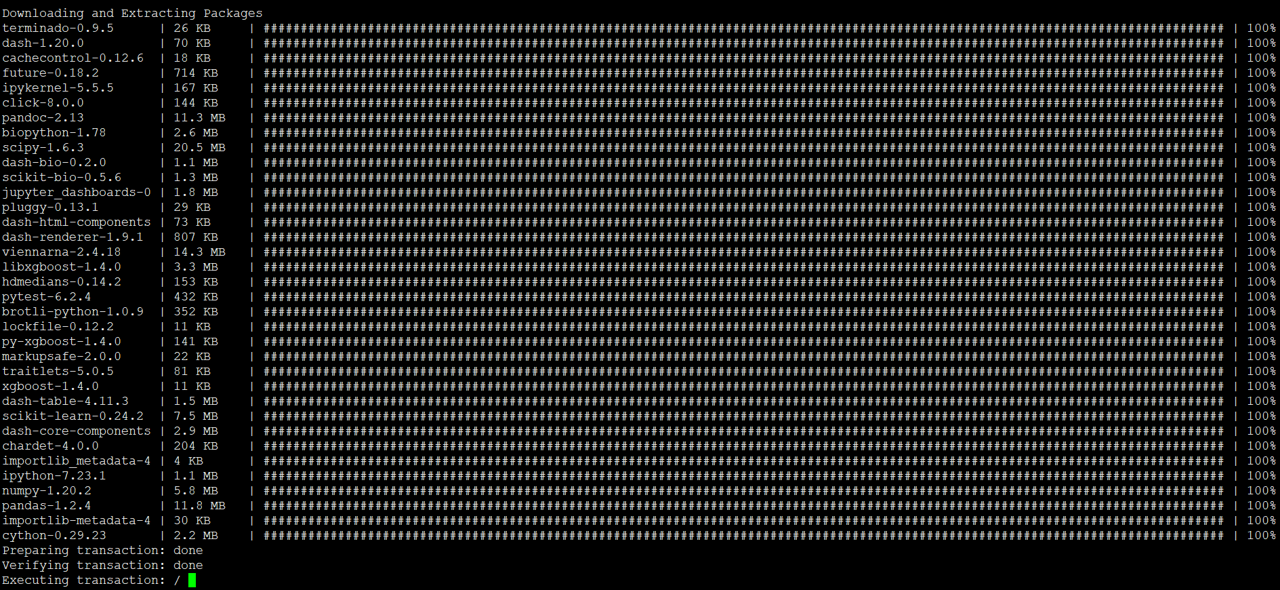
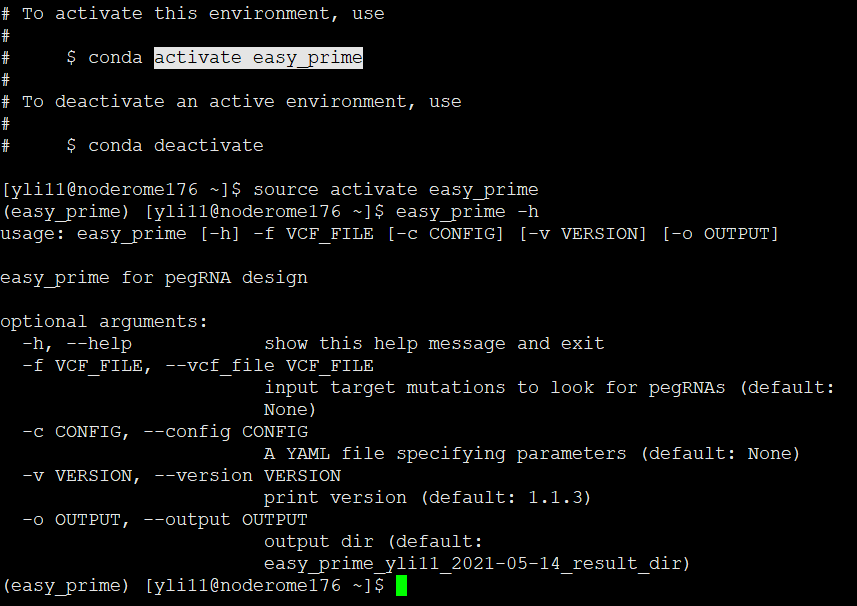
Stage 4. Installation is completed
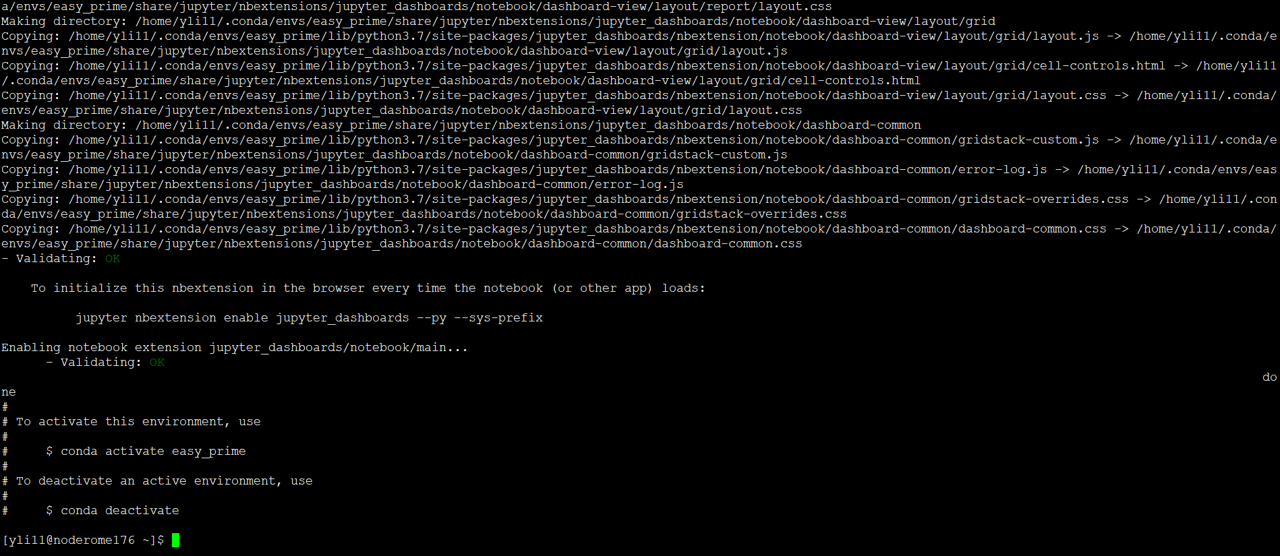
The terminal says, “To activate, use conda activate easy_prime”.
To use conda activate or source activate depends on the operating system. In Mac and Linux, please use source activate easy_prime.